Embroidery Pin Guide
Pins
A pin is a device for fastening fabrics together, it is made up of a rigid shaft with a sharp tip, meant to pierce soft material. It can be made of steel, copper or brass.
Pins of bone and thorn have been found in burial grounds dating back to the early Palaeolithic period. These were followed by wood, and then metal in the Bronze Age.
The development of the pin paralleled that of the needle – its perforated cousin. Pins were originally curved and used to hold clothes together.
Pins are now generally nickel-plated avoiding the problem of rust. Certain specialist pins are available in strong, rust-proof titanium.
The Pinner's Guild was established in London in 1356.
Walter Hunt invented the safety pin; he sold the rights to a friend to pay a debt – little did he know they would be worth millions.
Here are the pins I tend to use, it is by no means an exhaustive list, just the ones I find useful. Like most tools you get what you pay for, cheap pins tend to discolour, rust and bend. If you get a pin with a burr on the point just chuck it.
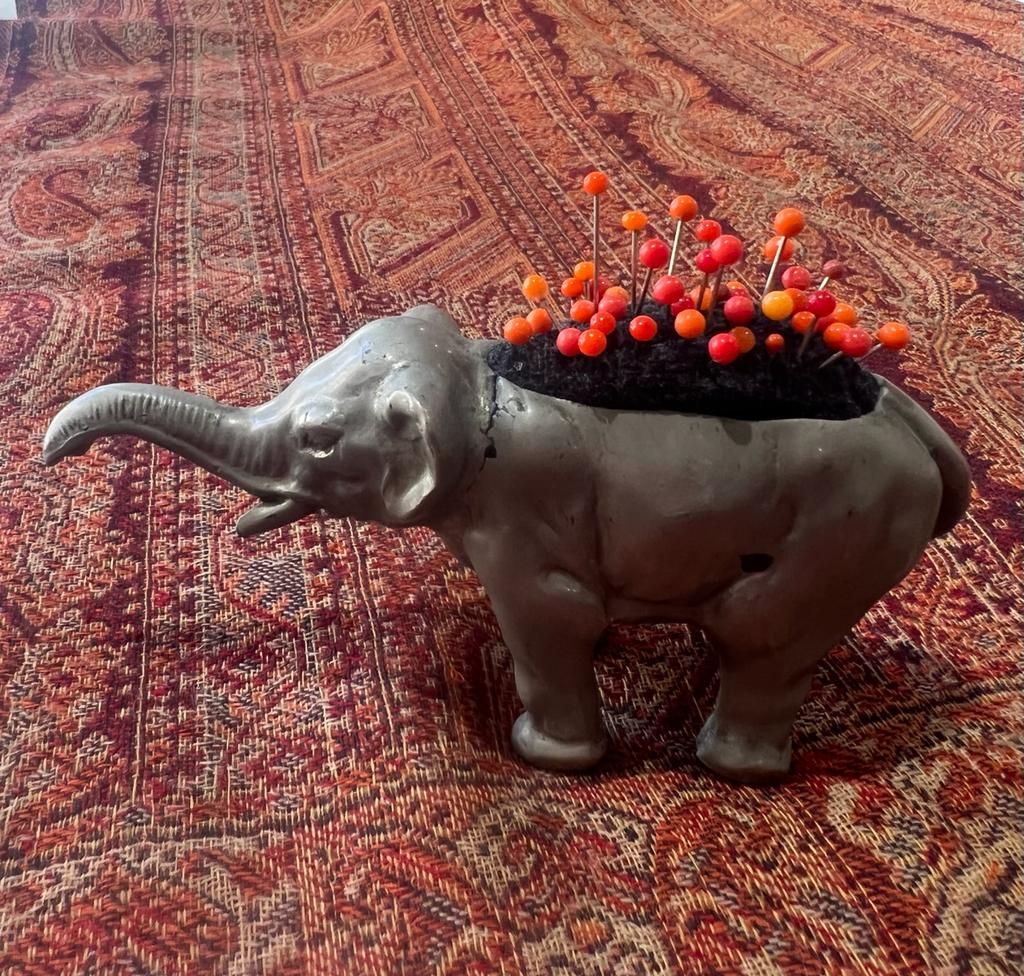
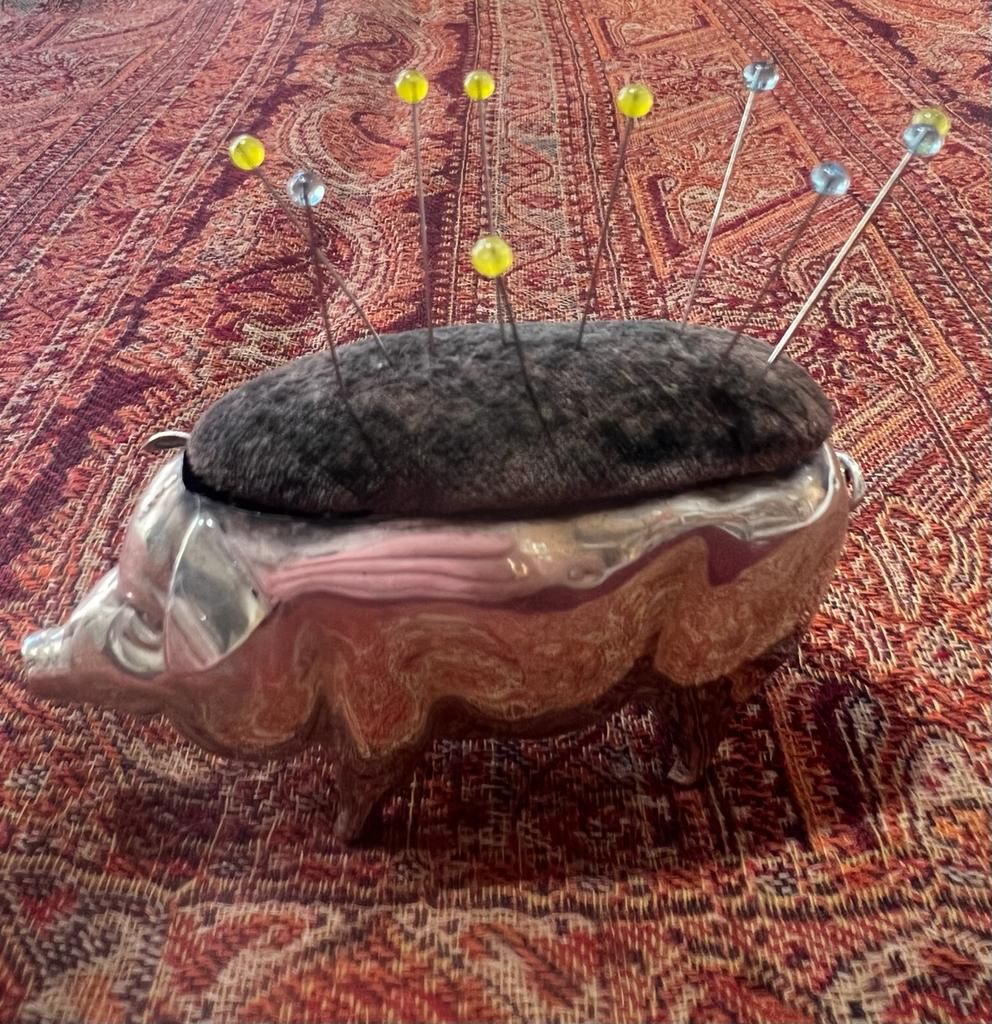
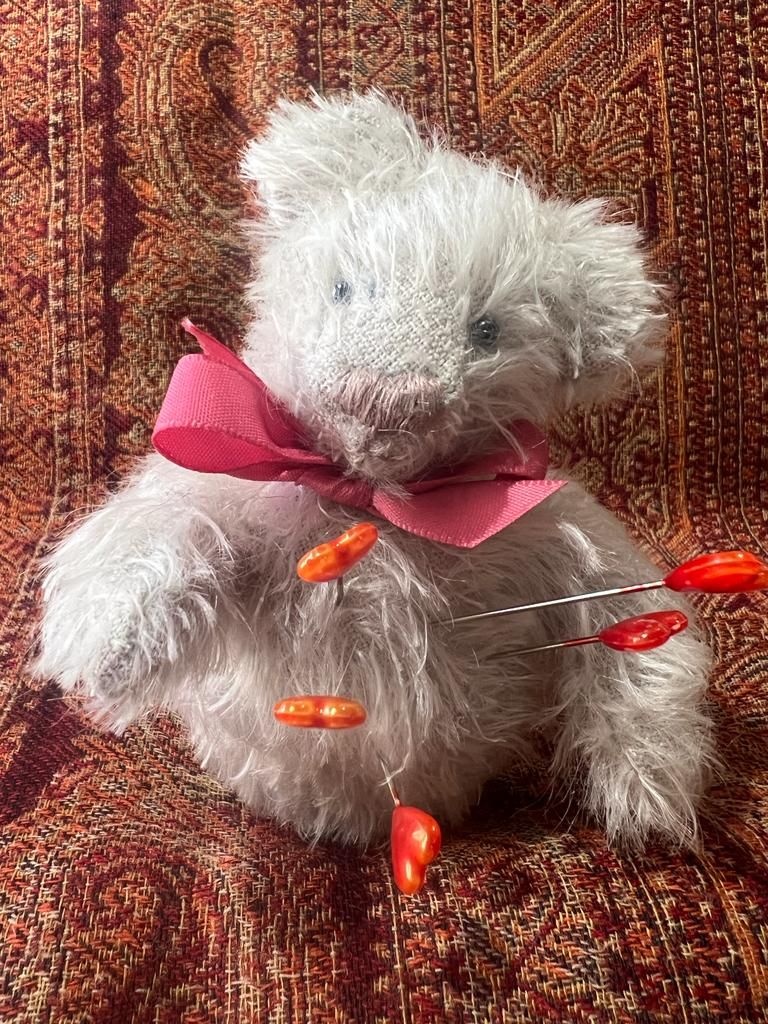
Glass-headed – the go-to. Glass-headed pins are useful for most sewing and craft jobs, they have as the name suggests coloured glass heads, they are not plastic which would melt if ironed.
Dressmaker – these are much like the glass-headed pins in size but do not have the glass globe on top. I use a large version of the dressmakers pins to frame up if I know my work will not take too long, such as sampler mounting.
Applique – have small round glass heads which are easy to work round, as they are short, they do not stick out when holding layers of fabric together.
Extra fine– (lingerie/bridal) are, as the name suggests, fine stainless-steel pins, used on delicate fabrics such as silk. I use them when remounting samplers to minimise damage to antique fabric. They are rather expensive and tend to bend easily.
Quilting – are longer than a standard pin and often have a glass head, or flower shaped as they are easy to see.
Double – are U-shaped with no head, they are slightly angled and the tip and are useful for keeping awkward fabrics in place. They tend to be fine for delicate fabrics and are great when slip stitching. They used to be used to keep doilies in place!
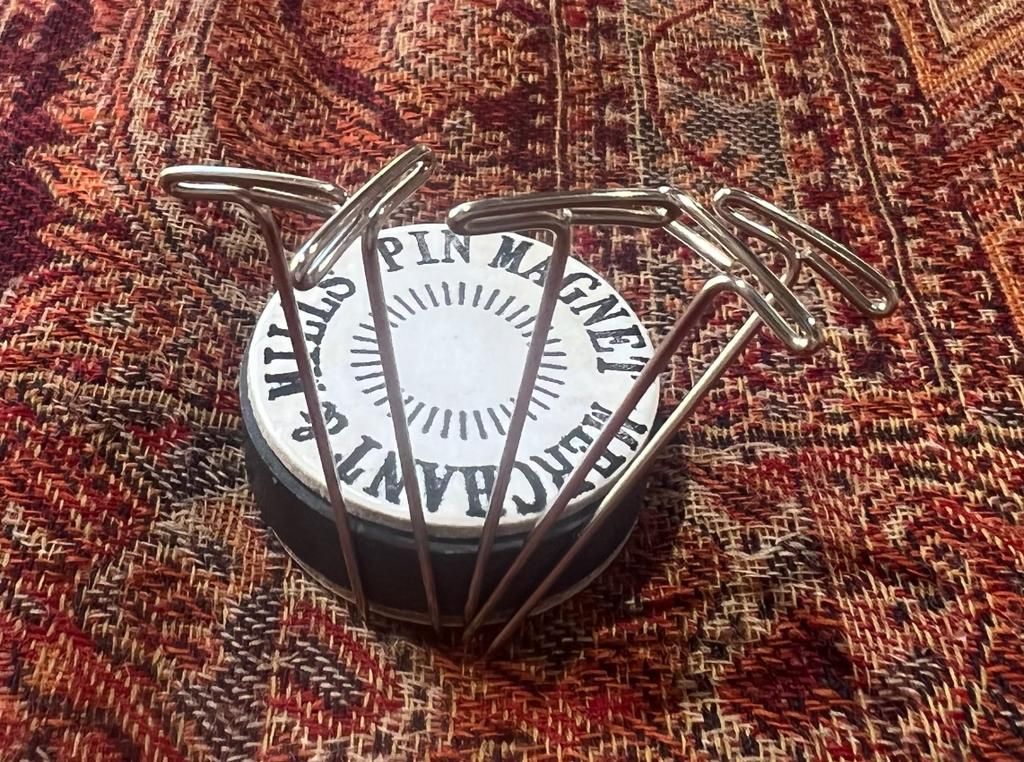
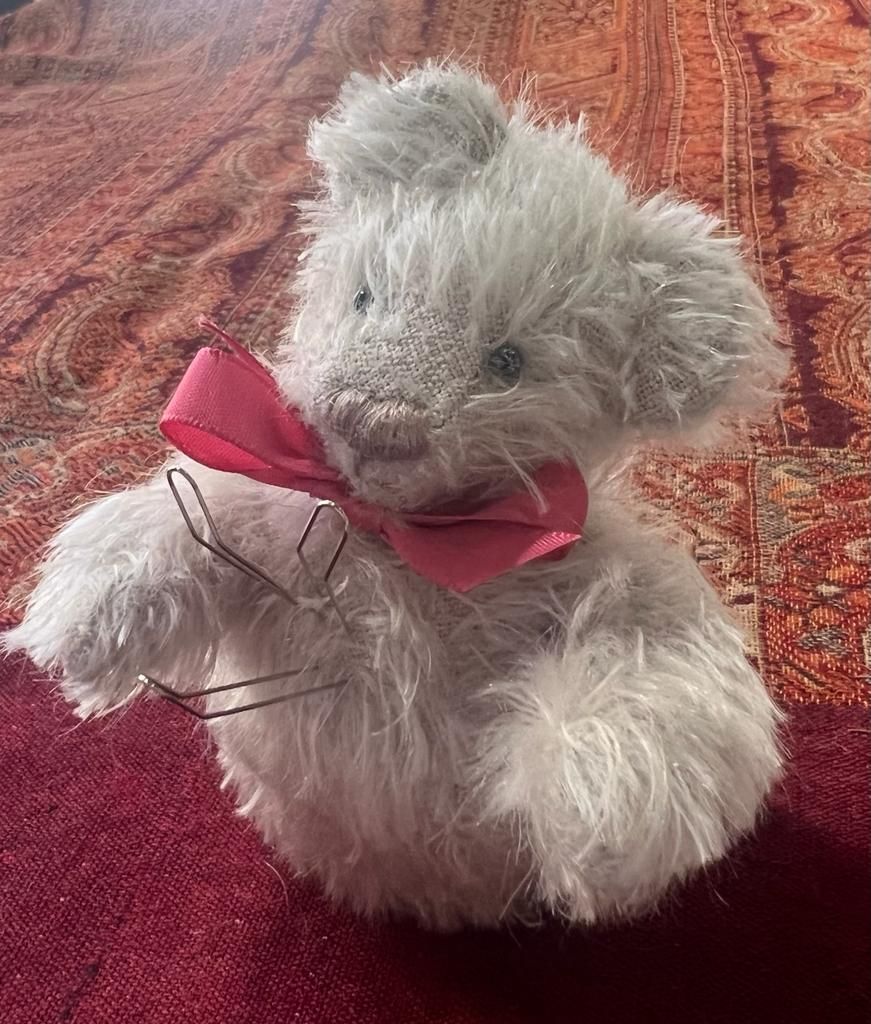
T – have a T-shaped head, which gives a wider pushing area. I find them useful for mounting heavy fabrics as you can give them a really good push without breaking them, or your fingers! They are also easier to remove.
Beading - have a large head for holding beads and sequins – I find glass-headed pins usually work fine.
Don’t forget cotter or split pin used to keep your slate frame together, they are not as easy to replace as you might think, as some are an unusual size. If using for the first time remove the excess oil as it can transfer to your fabric.